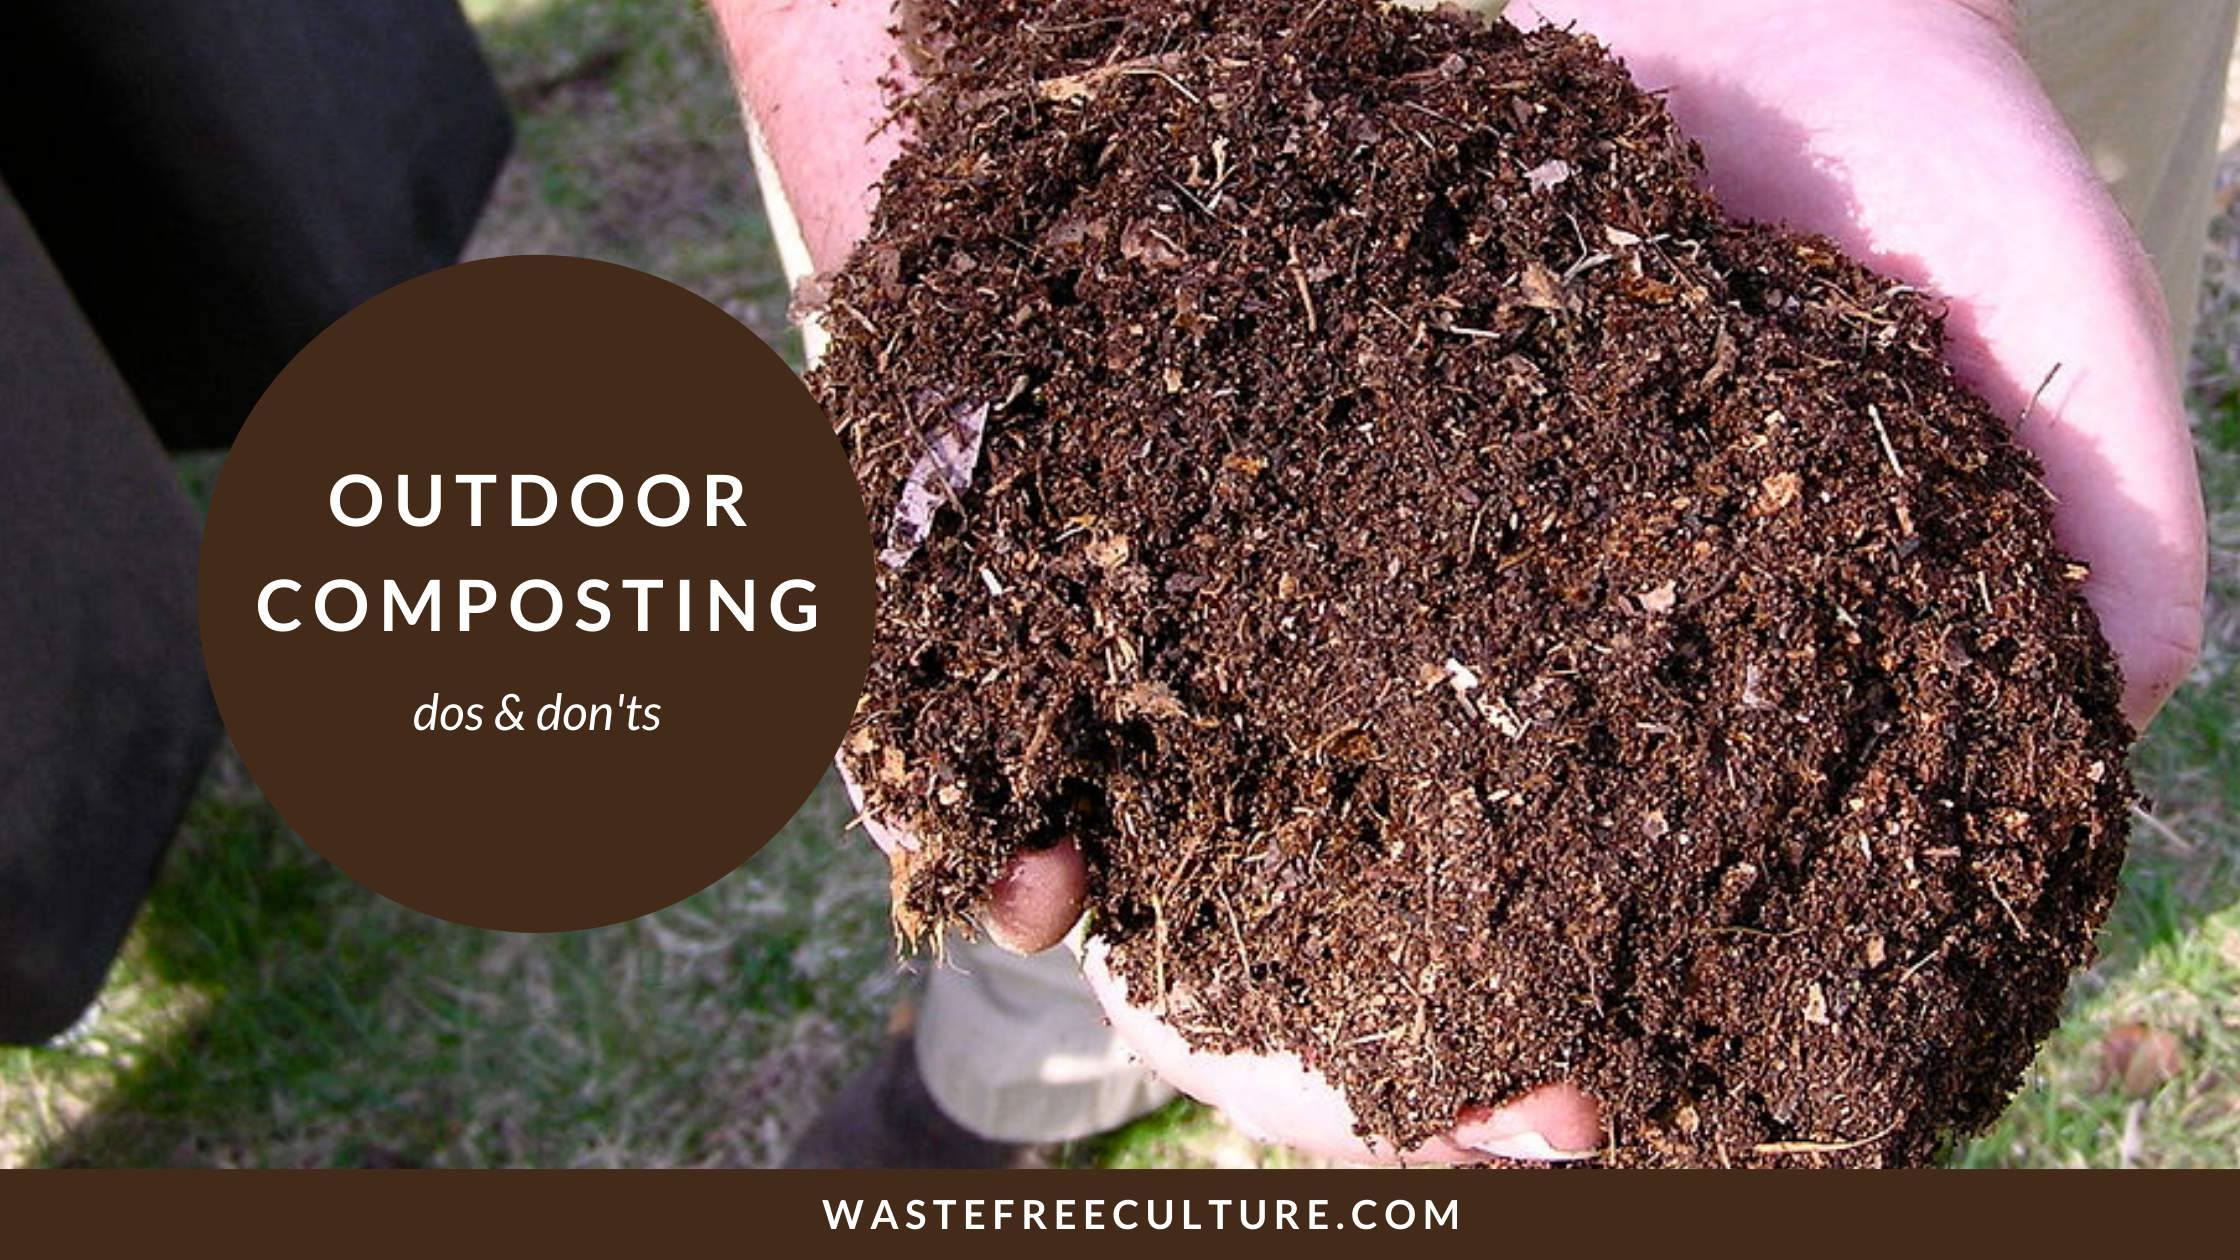
Do you have a garden or a backyard? And are you planning to compost your food scraps and other junks from it? Then you are in the right place. But if you don’t have one, you can check this. There are many ways to do Outdoor composting. Here are some of the types of outdoor composting.
DISCLOSURE: This post may contain affiliate links, meaning I get a commission if you decide to make a purchase through my links, at no additional cost to you.
Table of Contents
Types of outdoor composting:
Trench composting:
It is one of the easiest ways of composting. For trench composting, you need to dig a pit (or) trench to 10 to 12 inches. Then fill it with your kitchen and yard scraps for 4 to 5 inches and close the pit with the same soil which you have taken while digging that trench.
Pros:
- The main advantage of following this type of outdoor composting is that you don’t need to stir the pile occasionally to aerate it. This we would do normally in the aerobic composting.
- They are deeply buried in the soil. So if anything goes wrong they don’t smell bad and attract any insects and animals.
- By doing this, there is no need to feed your plants with the compost by taking it from your compost bin. Rather the nearby plants itself absorb the nutrients from this compost with the help of their own roots. The roots have the ability to get their nutrients from the soil on their own. So the manual work is reduced over here.
Benefits:
To enhance the nutrients in the soil all-around your garden, you can just start doing this trench compost at different places. By this way, you’re nourishing your plants without many efforts. It also helps your soil to get back to its original state where it is currently affected by the harsh chemicals which are used in the fertilizers and pesticides.
Things to consider before going for trench composting:
- Similar to the normal composting technique, you shouldn’t add any bones, fish, meat, dairy products and faeces of both pets and humans to it.
- Avoid adding seeds and weeds to this type of outdoor composting. As the seeds will tend to sprout and the weeds result in more weeds.
- Try to avoid browns as much as possible. This will damage your soil’s fertility by absorbing more nitrogen from it to decompose the browns. But if you are in the situation to add your browns, make sure to add more greens to the compost in order to balance them.
- Never add the diseased plants to the compost. It’ll make the condition worse by spreading the disease through the soil to all the other plants in your garden.
Classic compost bin:
The main advantage of using the classic compost bin for your outdoor composting is that you can collect the compost whenever needed and you don’t need to wait for the whole scraps to become the compost. i.e., the scraps which are fed first to the bin will be composted within 6 to 8 weeks of time and the compost of those scraps can be collected first at the bottom.
Pros:
- They have louvres all over them for aerating the pile.
- They don’t attract animals or any other insects as they are well closed.
- By using this compost bin, you can prevent the compost from extreme temperatures and UV rays which are harmful to the compost.
- And moreover, they are BPA free.


Tumbler composter:
The tumbler composters are easy and efficient to use when comes to outdoor composting. In the regular composting process, you should mix the pile then and there in order to aerate the pile. This is usually done using a shovel or spade whereas here you can turn the pile just by turning the tumbler forth and back a few times. You have to do this 5 to 6 times for every 2 to 3 days which is given in the instructions. But don’t do this more often or else it’ll slow down the process of composting.
Pros:
- The aerating process is quite easy over here.
- Easy to maintain
Final tips:
- If the pile is too dry, you can add a little amount of water.
- To speed up the process of composting, you need to increase the temperature of the pile. To do this, add more nitrogen content. This will heat up your compost pile. The increase in mild temperature also helps to kill the bacteria or other micro-organisms that cause harm to your compost.
Share your unique ideas in the outdoor composting.
You may also read:
Composting at home | How to make compost?
Zero waste hair care routine – Minimalism
Zero waste skincare routine for healthy glowing skin
Get rid of dark circles – Natural & Zero waste way!
Homemade Moisturizers for dry skin in winter
DIY Lip Balm: Natural & Zero Waste
Orange peel powder – DIY, Skin & Hair Benefits
Rose petal powder – DIY, Benefits for skin and hair
Zero waste school supplies and tips
Sustainable fashion Guide | Top 9 Ethical clothing brands
Zero waste Christmas – A sustainability guide
Zero waste valentine’s day ideas
10 easy Zero waste swaps you can make today
DIY Air Fresheners – Zero Waste & Homemade
Natural mosquito repellents that actually works!
Sustainable Alternatives to Tissues
How to use soap nuts for laundry? | 3 different ways
Bio enzyme-All purpose cleaner (DIY, FAQ & Zero Waste)
E-waste: Reuse, Repair, Recycle – towards zero waste
How landfills affect our environment?
What do you do with old plastic? | Zero waste living
Tips to turn waste into something useful at home
11 tips to conserve water at your home
5 Eco-Friendly Food Storage Containers & Cookware
8 ways to remove the pesticides from fruits and vegetables
10 best sustainability apps for a sustainable life
Follow me in social media: